How to make a barn quilt
I have made five barn quilts. They really aren't as hard as you might think. All you need to be able to do is measure, lay out a pattern and paint.
Easy.
First pick a pattern that will be easy to figure out. I try to pick one that I can divide into four sections, as if I drew a line through horizontally and vertically.
Here is the first pattern I worked with.

This one I actually had to break down into nine individual squares. But can you see that by doing so it would be easier to lay out a pattern?
I bought a piece of plywood because this quilt would be outside and would have to weather the elements. But I have painted other quilts on MDF and bead board.


Easy.
First pick a pattern that will be easy to figure out. I try to pick one that I can divide into four sections, as if I drew a line through horizontally and vertically.
Here is the first pattern I worked with.
This one I actually had to break down into nine individual squares. But can you see that by doing so it would be easier to lay out a pattern?
I bought a piece of plywood because this quilt would be outside and would have to weather the elements. But I have painted other quilts on MDF and bead board.

I gave it a good couple of coats of primer.

Then I measured off nine equal sized squares and laid out my pattern.

I merely drew it in with pencil. I marked what colors would go in which sections.

Then I chose my colors and started to paint. Some people tape off their lines with painters tape. I free-handed this quilt.


I had to give some colors multiple coats.
When it was finished I gave it two good coats of clear coat.
This quilt has been proudly displayed on my garage for years.


It has endured Midwest winters.

So far the colors have held up in the hot summer too.

I also made this quilt for a friend...

This one was easy because you can easily divide it into four sections to figure out how to lay the pattern.
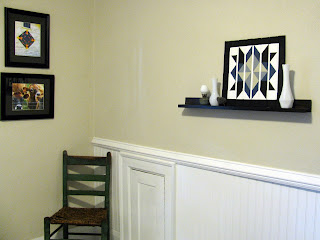
I then did this one on plywood but have it sitting on my fireplace mantel.

I made a simple frame for it.


Then I made this one out of MDF.

It is one of my favorites.

Then I made one from a scrap piece of bead board. Super simple.


When I do a quilt that will be displayed inside I don't clear coat it.
Try to start small. The majority of my quilts are 2 feet squared. Barn quilts that you see on barns are eight feet. Don't tackle an eight foot until you try a two foot. At least that's my recommendation.
My first quilt took me about nine hours from start to finish. Now that I have the hang of it I can finish one more quickly.
But be warned:
They are addictive.
Once you do one, you'll want to do another!

Lovely! May I ask what type paints you use (for the block design)?
ReplyDeleteI used craft paints. They come in a variety of colors and are inexpensive. Don't think you have to use outdoor paints. It's all about the sealer you use over the paints. That is very important!
DeleteMay I ask please: What do you use to hang it on the barn?
ReplyDeleteI merely used four screws. Just make sure they are for outdoor use.
DeleteImagine my surprise to see my photo as the one you used for your first barn quilt...!
ReplyDeleteThank you Sherry for your inspiration and getting me hooked on barn quilts!
DeleteYour work is gorgeous! I'm so inspired to paint my first wood barn quilt. I'm going to start with a small one, to hang in my dining room.
ReplyDeleteI love your Barn Quilts and plan to make one soon! I just wish I could Pin it for you! Please put the logo on your posts!
ReplyDeleteMy husband made my barn quilt into a coffee table. I couldn’t be more pleased with the end results. I used craft paints and sealed with a Bree wax. I wish I could add a picture of it.
ReplyDeleteMy husband made my barn quilt into a coffee table. I couldn’t be more pleased with the end results. I used craft paints and sealed with a Bree wax. I wish I could add a picture of it.
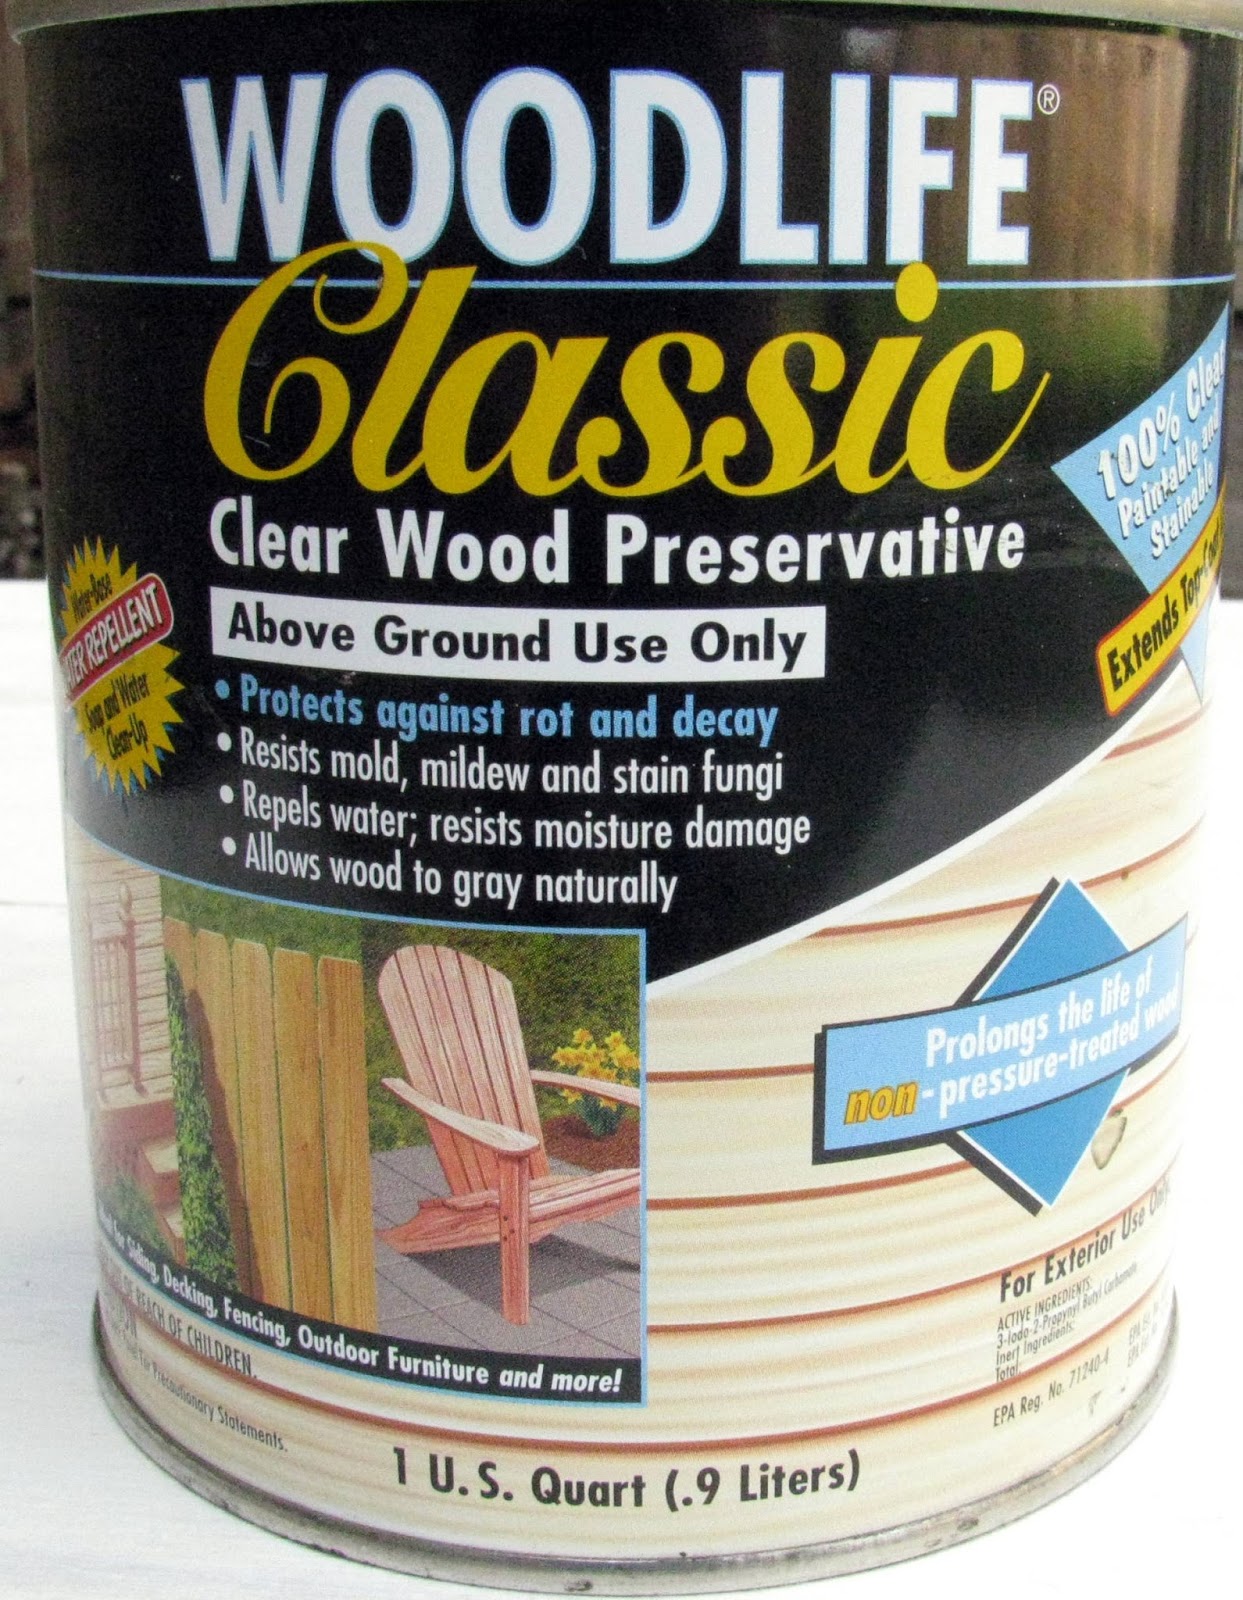
ReplyDeleteTrying to find sealer that won't yellow. Is the picture of Woodlife clear wood preservative the brand you used
ReplyDeleteYes, and it never yellowed.
DeleteHow did you hang your barn quilt on the fence? I've been told to use stainless steel screws and to drill a pilot hole first. Let me know what you suggest.
ReplyDeleteI did pre-drill holes. And using screws designed for outdoor use is a good idea!
Delete